


Using Sanity Cms to allow your web design clients to change their website themselves just like Wordpress
Sanity Cms tutorial for anyone wanting to offer this service to their clients.


Table of contents


No headings in the article.
I have recently launched my web design business and it wasn't until late in the process that I realised, It had never once even crossed my mind that I was going to have to allow clients the option to change their websites themselves. This is something I didn't know how to do and I had never really heard it discussed anywhere either so this was new ground for me. This will be a fairly long tutorial as I will cover everything you need to know to get started with the CMS today. (All code snippets come from the Sanity documentation).
This will come in extremely handy for anyone who is working with clients and wants to be able to offer them the functionality to edit elements of their site themselves.
I set out trying to find information on the topic on Youtube etc and there was hardly any good quality content on the topic that did not involve WordPress (something I also didn't know or use). I started searching for answers and I eventually discovered some cms platforms and started reading the documentation.
Now, to be honest, this was still very new ground to me because this documentation was mentioning things like "queries" and "API tokens" etc and with me being a frontend developer, I was so confused.
I am not the type of person to shy away from a challenge so I decided this was important to my business and therefore I was going to need to learn. I'll share with you the basic process here so if you, like me, nearly fell at this hurdle, I hope I can provide some value for you.
First, you must install sanity and its cli.
npm install -g @sanity/cli
After you have installed the cli tool run this command.
npm create sanity@latest -- --template clean --create-project "Sanity Project" --dataset production
If you do not already have an account you will be prompted to create one.
Next, you will be prompted to confirm your output path, confirm the default or change it to suit your needs then press enter. You will also be prompted for if you want to use Typescript, I choose no, as I do not know Typescript, but if you understand Typescript and you want to build your project with that, then feel free to say yes. Now choose how you would like to install your dependencies, npm or manual, I choose npm, it will now install the necessary dependencies, this may take a minute.
Please remember that at any time during your process you can type this command to see the CLI menu.
sanity help
Before you go any further make sure you change your directory to match your output path.
cd sanity-project
Now you can start the Sanity development server with this command.
npm run dev

You will now find your development server running at the address provided to you in the terminal. The sanity studio is now running, and you will be prompted to log in with either Github, Google or Email and password.
Your project should currently resemble this.
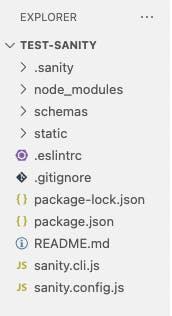
The next step is to create a Schema. The Schema folder is where you add your document types and define your fields.
In sanity.config.js you will find the configuration details for your studio, if you set it up correctly you will not need to go in here for now.
Now we can define your first document type, for this example, we will do products.
A document type is very similar to a collection, for anyone with any experience with NOSQL or anything similar like tables. In the JSON files, your studio is writing to this will appear as the _type property and this is very common to use to query for your content. eg.
*[_type == "product"]
Go into your schemas folder and create a new document called "product.js" then add this code to the document.
// schemas/pet.js
export default {
  name: 'product',
  type: 'document',
    title: 'Product',
  fields: [
    {
      name: 'name',
      type: 'string',
      title: 'Name'
    }
  ]
}
If you would like more information on what is actually happening here then please refer to the Sanity documentation, but for the purpose of this tutorial, I will leave that to you as I do not want to confuse you.
Next, open "schema/index.js" and add the following code.
// schemas/index.js
import product from './product'

export const schemaTypes = [product]
Now if you open your dev server you should see something resembling this.
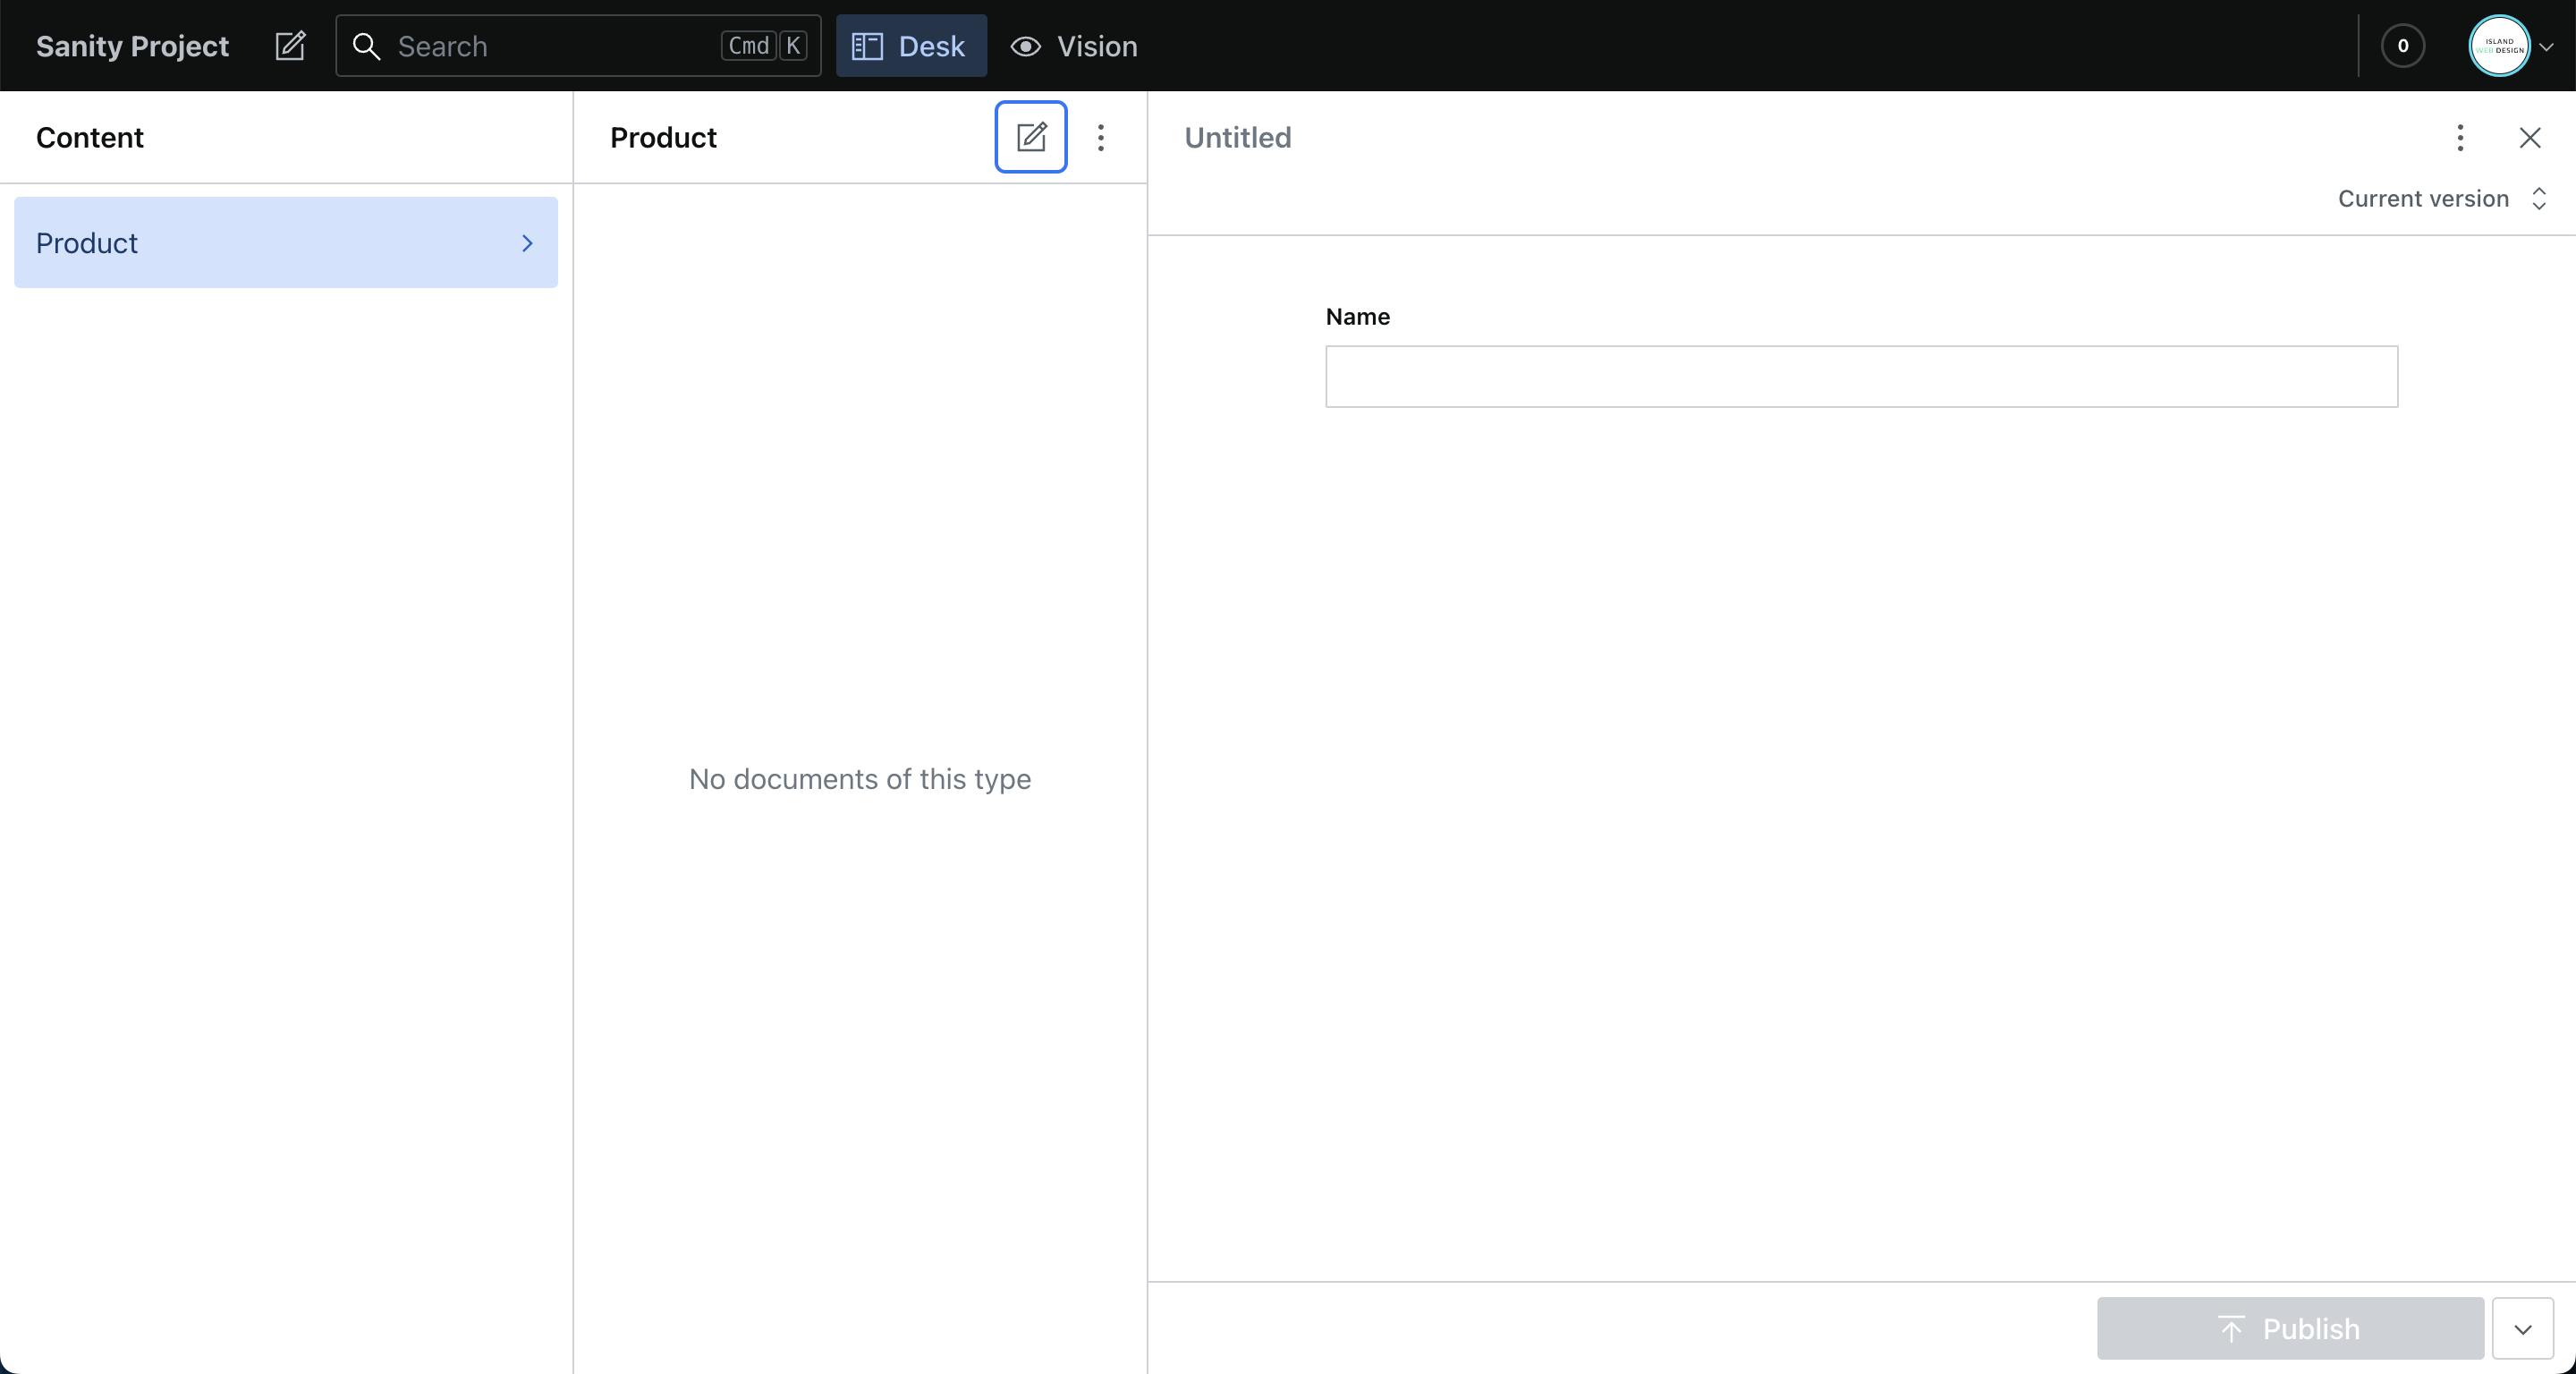
Congratulations, you have created your first Schema type "Product" and a name field. The awesome thing about Sanity is all the changes are happening in real-time. You will see the synchronization indicator in the bottom left corner of your studio editing panel and later on you will notice that all changes you make are happening live as you make them.
If you would like to add more fields then simply fill in the fields object of the product.js document you created earlier. For now, we are going to move on to how to fetch your data with the api. To be able to query for your schema you will need to hit the green publish button for the first time so your document is no longer a draft.
You need these two pieces of information to connect to your API.
A Project ID
A Dataset Name
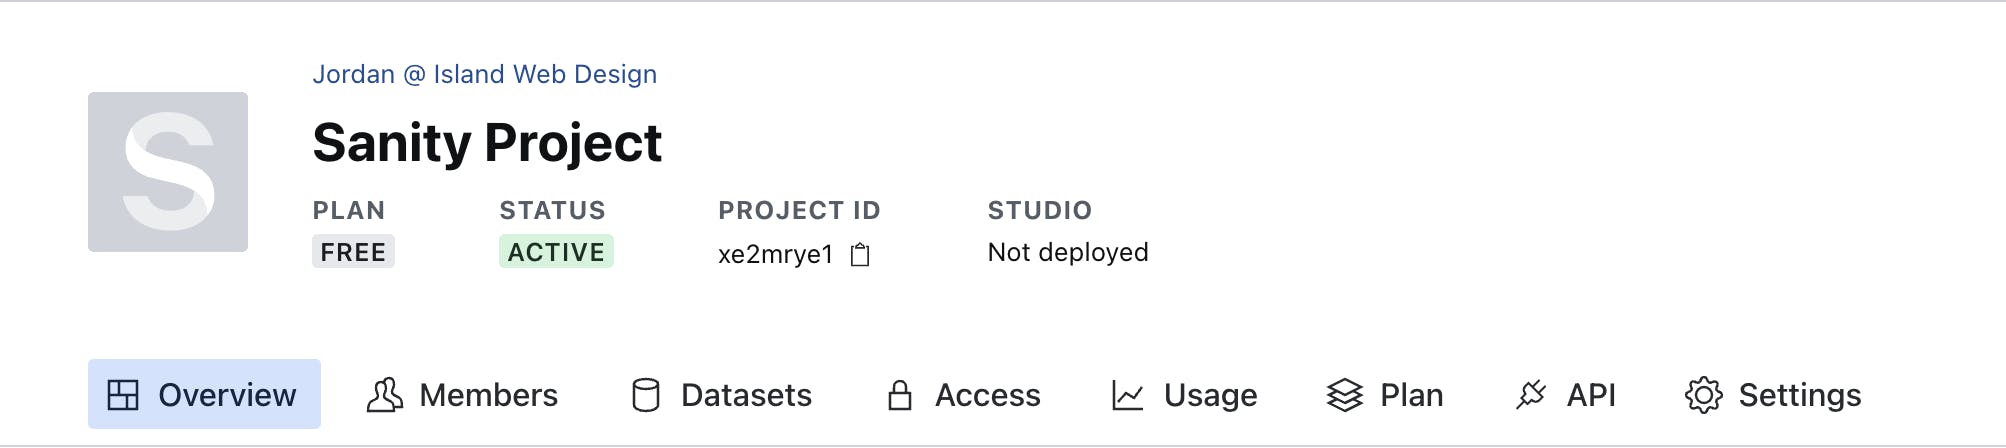
You can find these in many places but for this tutorial we are going to do it how the documentation reccomends. Go to sanity.io/manage where you will find your project settings. Click on your project and you will see your project ID.
Use the project ID to replace YOUR_PROJECT_ID in the following code.
<!DOCTYPE html>
<html lang="en">
  <head>
    <title>My Products</title>
    <meta charset="UTF-8" />
    <link rel="stylesheet" href="src/styles.css" />
  </head>

  <body>
    <header>
      <h1>Sanity + Vanilla JavaScript</h1>
    </header>
    <main>
      <h2>Products</h2>
      <ul>
        <li>Loading…</li>
      </ul>

      <div>
        <pre>
¯\_(ツ)_/¯
Your data will show up here when you've configured everything
        </pre>
      </div>
    </main>

    <script>
      let PROJECT_ID = "YOUR_PROJECT_ID";
      let DATASET = "production";

    </script>
  </body>
</html>
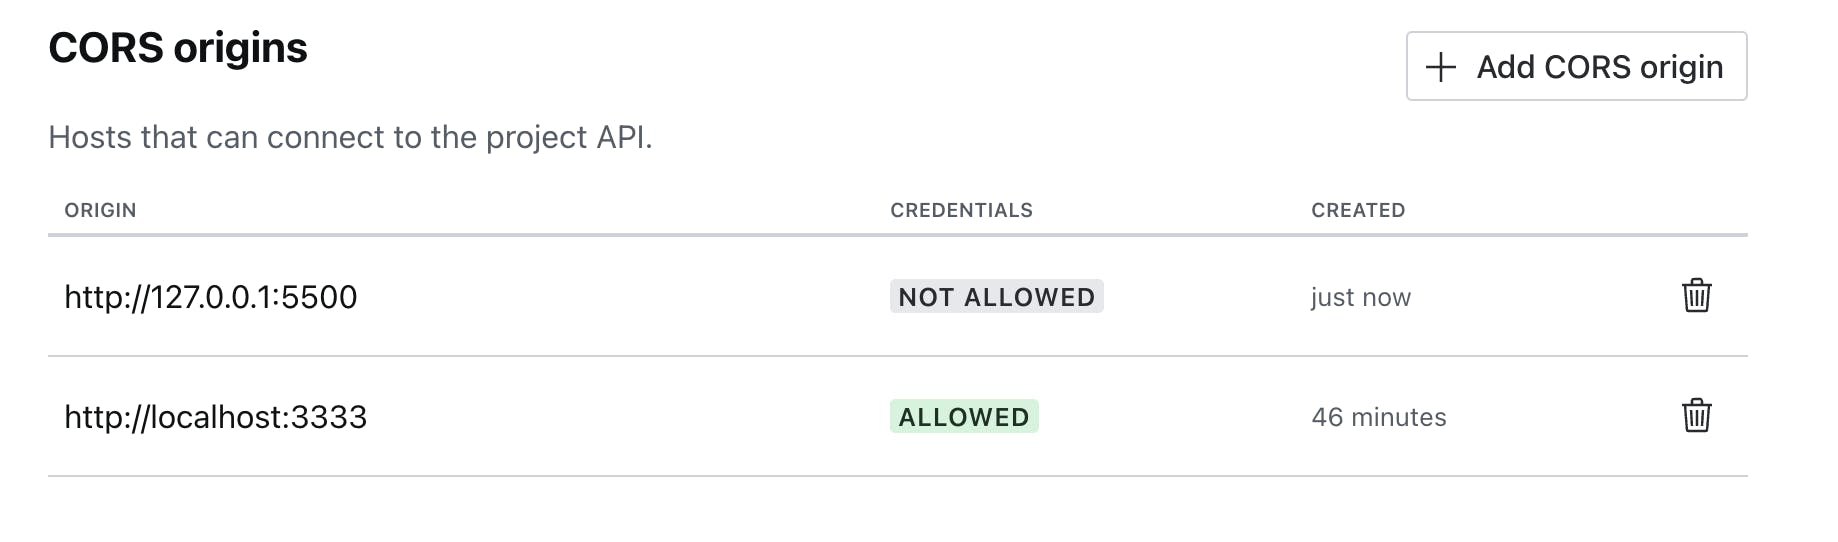
Now one of the most important things, which is also something I got very stuck on for a while is, you need to add your URL to the CORS (Cross Origin Recourse Sharing) settings or you will not have permission to retrieve data from your API.
First get the URL of the project your trying to fetch the data into (please remember you need to change this setting if the url your project is hosted at changes).
Head over to the API tab in your project settings at sanity.io/manage, go to "CORS Origins" and click the button "Add CORS Origin". Paste your URL into the URL field and hit save. Please note that under credentials it says "NOT ALLOWED", this is not important, it will still work.
This is a very simplified example of how to fetch your data so we are going to construct out URL ourselves using the project id etc.. please note there are better and more compliacted ways to do this but for the sake of this example we are going to do it this way.
let QUERY = encodeURIComponent('*[_type == "product"]');

// Create the URL for your endpoint and add the query
let URL = `https://${PROJECT_ID}.api.sanity.io/v2021-10-21/data/query/${DATASET}?query=${QUERY}`;
Your code should now, hopefully resemble this.
<!DOCTYPE html>
<html lang="en">
  <head>
    <title>Products</title>
    <meta charset="UTF-8" />
    <link rel="stylesheet" href="styles.css" />
  </head>

  <body>
    <header>
      <h1>Sanity Studio Tutorial</h1>
    </header>
    <main>
      <h2>Products</h2>
      <ul>
        <li>Loading…</li>
      </ul>

      <div>
        <pre>

Your data will show up here when you've configured everything
        </pre>
      </div>
    </main>

    <script>
      let PROJECT_ID = "YOUR_PROJECT_ID";
      let DATASET = "production";
      let QUERY = encodeURIComponent('*[_type == "product"]');

      // Compose the URL for your project's endpoint and add the query
      let URL = `https://${PROJECT_ID}.api.sanity.io/v2021-10-21/data/query/${DATASET}?query=${QUERY}`;

    </script>
  </body>
</html>
Make sure to change everything nested in curly brackets proceeded by a dollar sign to the required information. eg... ${PROJECT_ID} should contain your project ID.
Sanity primarily uses Groq as a querying language. You do not need to know this language as it is all very self explanitory.
This is the Groq query if you do not already realise. These querys can get a lot more specific, but that is something you will have to play around with yourself in the "Vision" section of your Sanity studio.
*[_type == "product"]

The final part of the process is to actually fetch your content. You will need to add a fetch function which extracts the returned JSON data and outputs it to the DOM.
<!DOCTYPE html>
<html lang="en">
  <head>
    <title>Products</title>
    <meta charset="UTF-8" />
    <link rel="stylesheet" href="styles.css" />
  </head>

  <body>
    <header>
      <h1>Sanity Studio Tutorial</h1>
    </header>
    <main>
      <h2>Products</h2>
      <ul>
        <li>Loading…</li>
      </ul>

      <div>
        <pre>

Your data will show up here when you've configured everything correctly
        </pre>
      </div>
    </main>

    <script>
      // Select the DOM-element, so that you can replace it with content
      let PROJECT_ID = "YOUR_PROJECT_ID";
      let DATASET = "production";
      let QUERY = encodeURIComponent('*[_type == "product"]');

      // Compose the URL for your project's endpoint and add the query
      let URL = `https://${PROJECT_ID}.api.sanity.io/v2021-10-21/data/query/${DATASET}?query=${QUERY}`;

      // fetch the content
      fetch(URL)
        .then((res) => res.json())
        .then(({ result }) => {
          // get the list element, and the first item
          let list = document.querySelector("ul");
          let firstListItem = document.querySelector("ul li");

          if (result.length > 0) {
            // remove the placeholder content
            list.removeChild(firstListItem);

            result.forEach((pet) => {
              // create a list element for each pet
              let listItem = document.createElement("li");

              // add the pet name as the text content
              listItem.textContent = product?.name;

              // add the item to the list
              list.appendChild(listItem);
            });
            let pre = document.querySelector("pre");
            // add the raw data to the preformatted element
            pre.textContent = JSON.stringify(result, null, 2);
          }
        })
        .catch((err) => console.error(err));
    </script>
  </body>
</html>
You should now be able to refresh your page and see your fetched data in your project.
Shoutout to Sanity Studio. All code snippets come from their documentation. This really helped me when I was starting my business and now I hope it can really help you.
My Website: https://islandwebdesign.net/